Cut & Style Tips and Tricks for the Perfect Butterfly Layers
Trendy haircuts like Butterfly layers can be a huge money-maker—if you know how to manage the appointment time. Book back-to-back appointments with these quick tips to get your clients out the door with an incredible new haircut.
1. Cut Fringe Using A Triangle Guide

Section your client’s fringe into a large triangle, then separates the section into three parts. This will create the framework for a contoured face frame that will connect into the butterfly layers later. Point cut the center section into a triangle. Then, over direct each side of the triangle as a guide connecting the left and right sections. Be sure to point cut the entire fringe section. This is key to building texture and movement quickly! If you’re not sure how short to cut your client’s fringe, Amanda recommends starting just above the tip of their nose. (You can always take more length off if needed!)
2. Use Organic Sectioning Throughout The Entire Head

For this cut, it’s really important to eliminate any extra weight that could create a heavy shelf layer. The contoured face frame adds structure around the face, so be sure the rest of the cut is just as balanced. Try this to avoid a heavy crown layer: Take a circular section at the crown and point cut any extra length or blunt lines. This quick step makes a huge difference in the way the client’s layers lay without extra bulk.
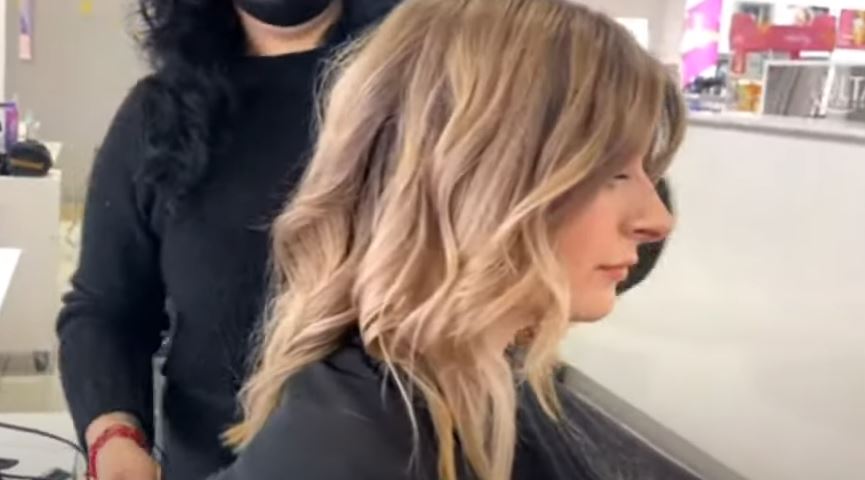
3. Contour The Fringe With This Styling Trick

To accentuate the layers and movement created, be sure you’re showing every client how to style their hair at home. For the IG-worthy layered, bouncy look, try this flat iron trick: Using a flat iron, round the face-framing section in toward your client’s chin. Then, take one piece from the back of that section and round it away from the face. This technique will sculpt the layers around the client’s face, making sure their face frame does not hang heavy around their eyes and chin.